Description
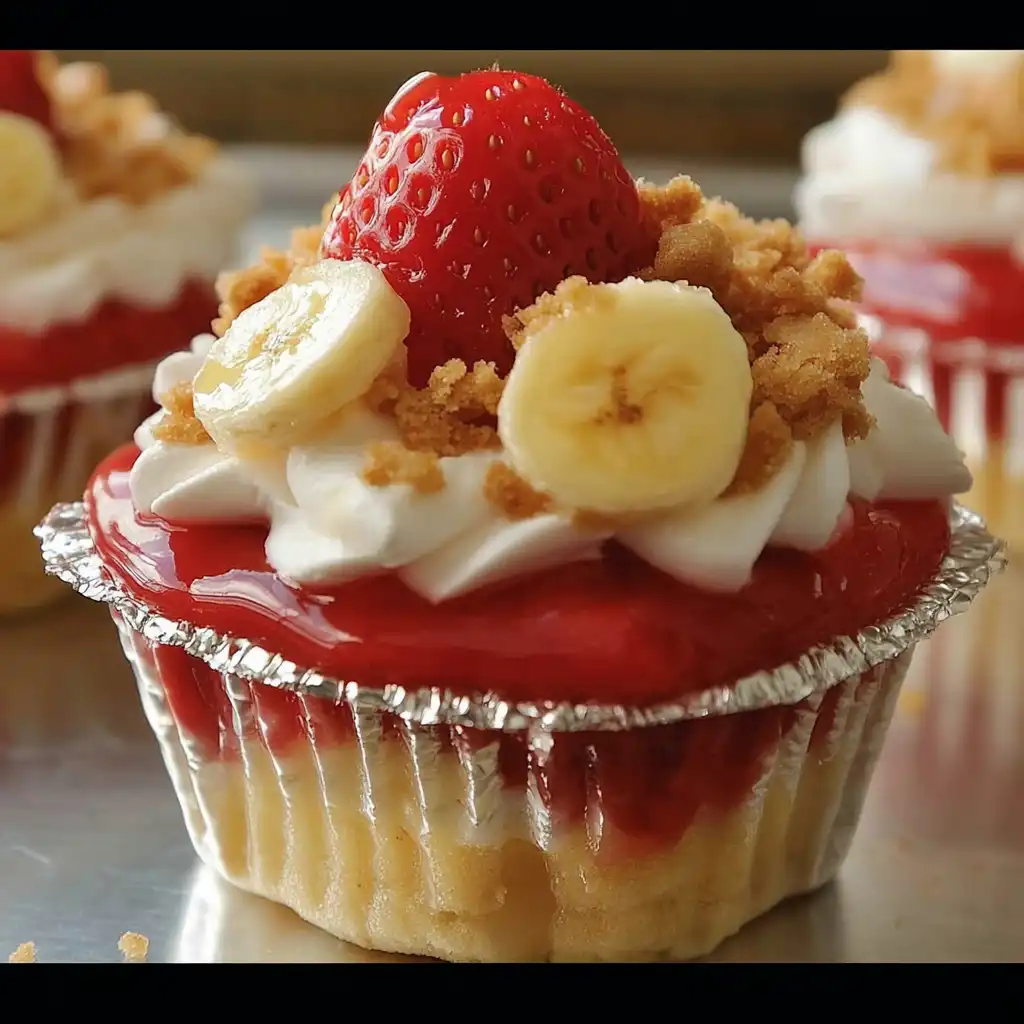
These Strawberry Banana Crunch Cake Cups are a delightful and easy-to-make dessert, perfect for any occasion. They combine the classic flavors of strawberry and banana with a creamy pudding filling and a satisfying crunch. This no-bake treat is ideal for warm weather gatherings or when you need a quick and impressive dessert.
Ingredients:
- 1 box yellow cake mix (plus eggs, oil, and water as package directs)
- 2 cups fresh strawberries, hulled and sliced
- 2 medium bananas, sliced
- 2 cups cold milk
- 1 box (3.4 oz) instant vanilla pudding mix
- 1 cup whipped topping (Cool Whip or homemade whipped cream)
- 1 cup granola or crushed vanilla wafers (for crunch)
- 1/2 cup chopped pecans or walnuts (optional)
- Mint leaves or extra fruit for garnish
Preparation:
Step 1: Bake the Cake: Prepare and bake the yellow cake mix according to the package instructions. Once baked, allow the cake to cool completely on a wire rack. This ensures that the cake doesn’t become soggy when layered with the other ingredients.
Step 2: Cut the Cake: After the cake has cooled, cut it into 1-inch cubes. These cubes will form the base of your cake cups and provide a perfect bite-sized portion in each layer.
Step 3: Prepare the Pudding: In a mixing bowl, pour 2 cups of cold milk. Add the instant vanilla pudding mix. Whisk the milk and pudding mix together until it thickens, usually about 2 minutes. The cold milk helps the pudding set quickly and smoothly.
Step 4: Fold in Whipped Topping: Gently fold in the whipped topping into the thickened pudding mixture. This step adds an extra layer of creaminess and lightness to the pudding, enhancing the overall texture of the dessert.
Step 5: Assemble the Cups: In clear cups or glasses, begin layering the ingredients. Start with a layer of cake cubes at the bottom.
Step 6: Add Fruit: Add a layer of sliced strawberries and banana slices over the cake cubes. The combination of these fresh fruits brings a burst of natural sweetness and flavor.
Step 7: Add Pudding Mixture: Spoon a layer of the pudding mixture over the fruit. Make sure to spread it evenly to cover the fruit and cake.
Step 8: Add Crunchy Topping: Sprinkle a layer of granola or crushed vanilla wafers over the pudding. This provides a delightful crunch that contrasts with the soft cake and creamy pudding.
Step 9: Repeat Layers: If space allows, repeat the layers of cake cubes, strawberries, banana slices, pudding mixture, and crunchy topping. This creates a visually appealing and delicious dessert with multiple layers of flavor and texture.
Step 10: Top It Off: Finish with a final layer of pudding and a sprinkle of granola or chopped nuts.
Step 11: Garnish: Garnish the top with extra fruit slices or fresh mint leaves for an elegant presentation.
Step 12: Chill: Refrigerate the assembled cake cups for at least 30 minutes before serving. Chilling allows the flavors to meld together and the pudding to set completely, resulting in a more cohesive and enjoyable dessert.
Why You’ll Love This Recipe
This recipe is incredibly versatile and easy to customize. It requires minimal baking time, making it a perfect choice for busy days or when you need a last-minute dessert. The combination of fresh fruit, creamy pudding, and crunchy topping is a crowd-pleaser, appealing to both kids and adults. Plus, the individual servings make portion control a breeze.
Serving Suggestions:
- Serve these cake cups as a refreshing dessert at picnics, barbecues, or potlucks.
- They also make a delightful after-dinner treat or a sweet addition to brunch.
- For a more indulgent twist, add a drizzle of chocolate sauce or caramel on top.
Tips:
- To prevent the bananas from browning, toss them with a little lemon juice before adding them to the cups.
- Prepare the cake and pudding ahead of time to make the assembly process even quicker.
- For a dairy-free version, use non-dairy milk and pudding mix, and substitute coconut whipped cream for the whipped topping.
- Feel free to experiment with different fruits, such as blueberries, raspberries, or peaches, depending on what’s in season.
Preparation Time: 20 minutes
Cook Time: 30-35 minutes (for cake)
Total Time: 1 hour (including chilling)
Nutrition Information (per serving):
(Note: Nutritional information is an estimate and can vary based on specific ingredients and portion sizes.)
- Calories: 350
- Protein: 5g
- Sodium: 200mg
Conclusion:
The Strawberry Banana Crunch Cake Cups are a delightful and easy dessert that’s sure to impress. With layers of soft cake, fresh fruit, creamy pudding, and a satisfying crunch, these cups are a perfect balance of flavors and textures. Whether you’re serving them at a casual gathering or a special occasion, they’re guaranteed to be a hit. Enjoy the process of creating this delicious treat, and savor every bite!
Questions and Answers:
Q1: Can I use a different type of cake mix?
A: Absolutely! While yellow cake mix provides a classic flavor, you can easily substitute it with white cake mix, strawberry cake mix, or even a spice cake mix for a different twist.
Q2: What can I use if I don’t have granola or vanilla wafers for the crunch?
A: If you don’t have granola or vanilla wafers, you can use crushed graham crackers, cornflakes, or any other crispy cereal. You can even use chopped nuts for a healthier crunch.
Q3: How long can I store the assembled cake cups in the refrigerator?
A: The assembled cake cups are best enjoyed within 24-48 hours. After that, the cake may become a bit soggy, and the fruit may start to soften.
Q4: Can I make these cake cups ahead of time?
A: Yes, you can prepare the cake and pudding ahead of time and store them separately in the refrigerator. Assemble the cake cups a few hours before serving to prevent the cake from becoming too soggy.
Q5: Is it possible to make this recipe vegan?
A: Yes, you can make this recipe vegan by using a vegan cake mix, non-dairy milk and pudding mix, and a vegan whipped topping. Ensure that the granola or crunchy topping is also vegan-friendly.