Ingredients You’ll Need
These simple ingredients make the magic happen:
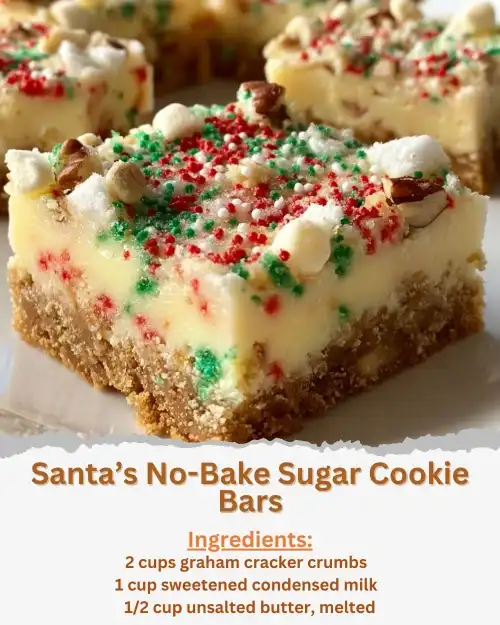
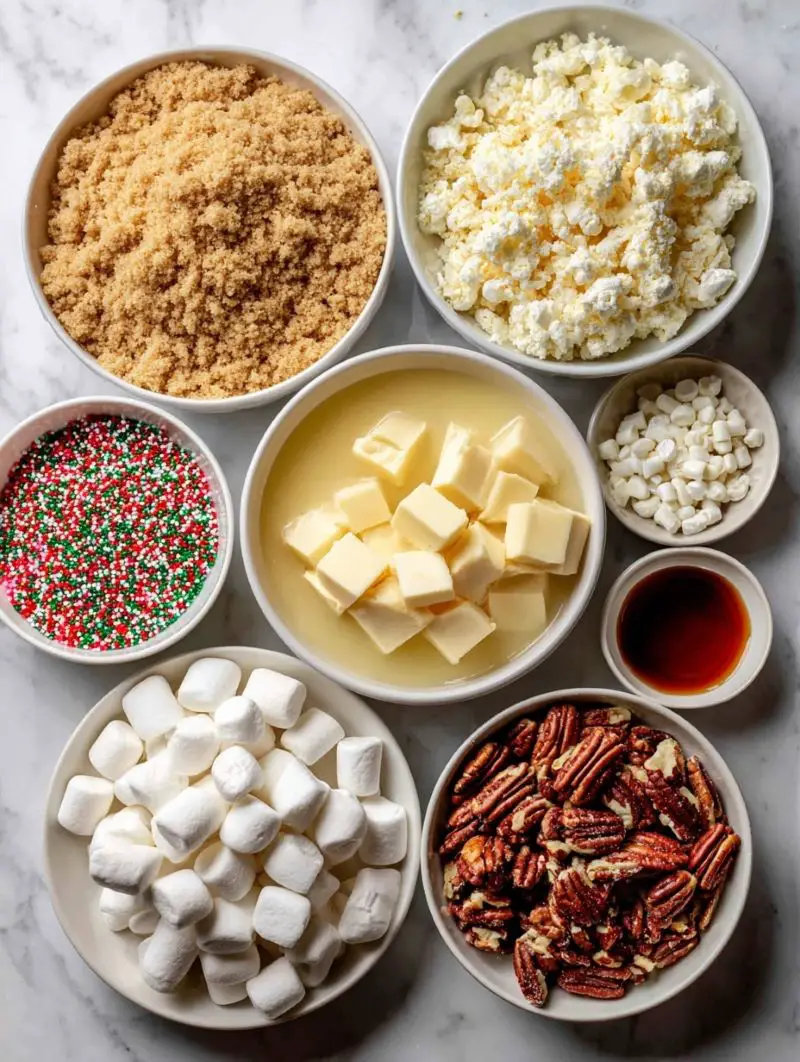
- 2 cups graham cracker crumbs
These form the base, giving the bars structure and a “cookie-like” flavor. - 1 cup sweetened condensed milk
Helps bind the crust together and adds irresistible sweetness. - ½ cup unsalted butter, melted
Rich and buttery — essential for a soft, cohesive crust. - 1 teaspoon vanilla extract
Gives the bars their sugar-cookie flavor. - 1 ½ cups white chocolate chips
Creamy, sweet, and festive — they melt slightly into the marshmallows. - 1 cup mini marshmallows
Soft, chewy texture reminiscent of holiday treats. - ¼ cup festive sprinkles (red, green, and white)
These make the bars look like Santa’s favorite dessert. - ½ cup chopped pecans (optional)
Add crunch and a nutty depth of flavor.
Tip: Want even more cookie flavor? Add ¼ teaspoon almond extract to the crust mixture!
Step-by-Step Instructions
With no oven and minimal effort, these bars come together beautifully:
1. Mix the crust
In a large mixing bowl, combine the graham cracker crumbs, melted butter, sweetened condensed milk, and vanilla extract. Stir until everything is well incorporated and the crumbs are fully coated. The mixture should resemble a thick, sticky dough.
2. Press into a baking pan
Line a 9×9-inch baking pan with parchment paper — this makes removing and slicing the bars effortless. Firmly press the crust mixture into an even layer in the bottom of the pan. Pressing firmly is key here so the bars don’t crumble later.
3. Add white chocolate
Sprinkle white chocolate chips evenly across the top of the crust. These will soften slightly as the bars chill, giving you creamy pockets of sweetness.
4. Add marshmallows and sprinkles
Scatter mini marshmallows over the white chocolate chips. Then add your festive sprinkles, letting them fall naturally for a pretty, scattered look.
5. Add nuts if you like
If using, sprinkle the chopped pecans over the top for an added crunch.
6. Chill thoroughly
Place the pan in the refrigerator and chill for at least 2 hours. The bars need this time to firm up and hold their shape.
7. Slice and serve
Once the bars are fully set, lift them out of the pan using the parchment paper. Cut into squares, serve chilled, and enjoy the creamy, crunchy, festive perfection.
Serving and Storage Tips
- Keep bars chilled for the best texture and cleanest slices.
- These bars taste amazing right out of the fridge or after sitting at room temperature for about 10 minutes to soften slightly.
- Perfect for gifting: Wrap squares in wax paper, place in decorative tins, and store in the fridge until gifting.
- To store: Keep in an airtight container in the fridge for up to 5 days.
- To freeze: You can freeze these bars for up to 2 months! Wrap each square tightly in plastic wrap, then place in a freezer-safe container.
Helpful Notes
- Want more color? Stir extra sprinkles into the crust before pressing it into the pan.
- Going nut-free? Simply skip the pecans — no adjustments needed.
- Prefer a softer bar? Add an extra 2–3 tablespoons of condensed milk to the crust.
- Make it peppermint-themed: Replace the sprinkles with crushed candy canes and sprinkle crushed peppermint over the white chocolate layer.
- Add a sugar cookie twist: Mix 1 tablespoon of dry instant vanilla pudding into the crust mixture for extra flavor.