Description
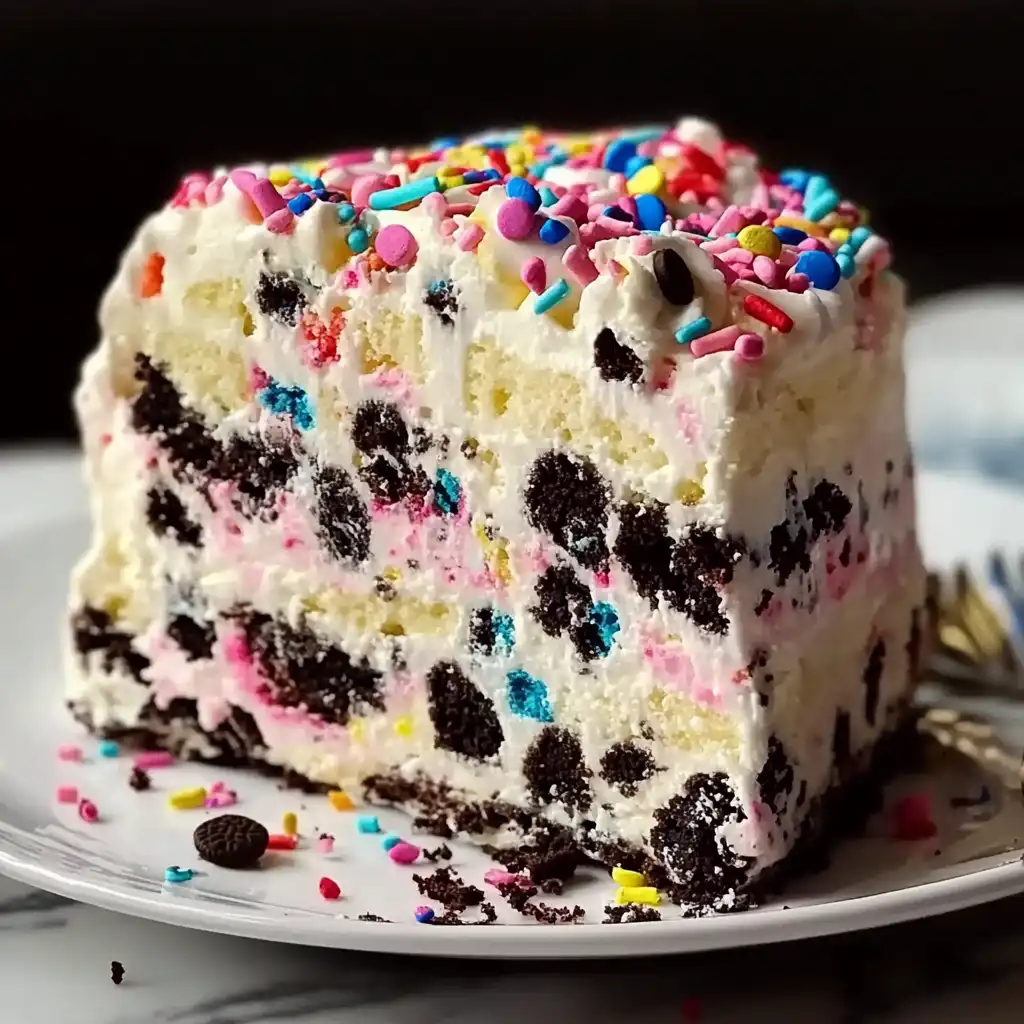
This No-Bake Funfetti Oreo Icebox Cake is a simple, colorful, and delicious dessert that requires no baking! Layers of Oreo cookies and sweet, sprinkle-filled whipped cream create a fun and festive treat perfect for parties, celebrations, or any time you want a sweet indulgence without turning on the oven. It’s easy to customize and guaranteed to be a crowd-pleaser.
Ingredients:
- 2 packages Oreo cookies (regular or Golden, about 48 cookies)
- 4 cups heavy whipping cream, cold
- 1 cup powdered sugar
- 2 teaspoons vanilla extract
- 1 1/2 cups rainbow sprinkles (divided)
- Optional: 8 ounces cream cheese, softened (for a thicker filling)
Preparation:
Step 1: Make the Whipped Cream
In a large mixing bowl, pour in the cold heavy whipping cream. Use an electric mixer (handheld or stand mixer) to beat the cream until soft peaks begin to form. Gradually add the powdered sugar and vanilla extract while continuing to beat. Continue beating until stiff peaks form. Be careful not to over-beat, or the cream may turn grainy.
Step 2: Add the Sprinkles (and Cream Cheese, if using)
Gently fold in 1 cup of rainbow sprinkles into the whipped cream. If you want a richer, cheesecake-like texture, beat in the softened cream cheese until fully combined with the whipped cream before folding in the sprinkles. The cream cheese adds a tangy flavor and helps to stabilize the whipped cream.
Step 3: Assemble the Cake
Select a 9×13-inch dish (or a springform pan for a taller, more circular cake). Spread a thin layer of the whipped cream mixture on the bottom of the dish. This will help to prevent the Oreo cookies from sliding around.
Step 4: Create the Layers
Place a layer of Oreo cookies on top of the whipped cream. Try to arrange the cookies in a single layer, covering as much of the bottom of the dish as possible. You may need to break some cookies to fill in any gaps. Next, spread a generous layer of the whipped cream mixture over the Oreo cookies.
Step 5: Repeat and Chill
Repeat the layers of Oreo cookies and whipped cream until all of the ingredients are used, finishing with a final layer of whipped cream on top. Smooth the top layer of whipped cream. Cover the dish tightly with plastic wrap or foil. Refrigerate the icebox cake for at least 6 hours, or preferably overnight. This allows the Oreo cookies to soften and absorb the moisture from the whipped cream, creating a cake-like texture.
Step 6: Decorate & Serve
Before serving, remove the icebox cake from the refrigerator. You can pipe extra whipped cream swirls on top for a more decorative look. Sprinkle the remaining rainbow sprinkles over the top of the cake. Slice the cake into squares or rectangles and serve cold.
Why you’ll love this recipe
- No-Bake: Perfect for hot days or when you don’t want to use the oven.
- Easy to Make: Simple steps and minimal ingredients make it a breeze to prepare.
- Customizable: You can use different flavors of Oreos, add other toppings, or adjust the sweetness to your liking.
- Festive and Fun: The rainbow sprinkles add a pop of color and make it a great dessert for celebrations.
- Make-Ahead Friendly: It can be made a day in advance, making it perfect for entertaining.
Serving Suggestions:
- Serve cold, directly from the refrigerator.
- Pair with a scoop of vanilla ice cream or a dollop of fresh whipped cream.
- Garnish with fresh berries or chocolate shavings.
- Serve as a dessert for parties, potlucks, or family gatherings.
- Enjoy with a glass of cold milk or a cup of coffee.
Tips:
- For a richer flavor, use Golden Oreos or a flavored variety like mint or peanut butter.
- If you don’t have powdered sugar, you can make your own by grinding granulated sugar in a blender or food processor until it’s a fine powder.
- To prevent the bottom layer of cookies from becoming soggy, you can brush them with a thin layer of melted chocolate before adding the whipped cream.
- For a smoother whipped cream, chill your mixing bowl and beaters in the freezer for 15-20 minutes before whipping the cream.
- If you’re using a springform pan, line the bottom with parchment paper for easy removal.
- Leftovers can be stored in the refrigerator for up to 3 days.
Preparation Time:
20 minutes
Cook Time:
0 minutes
Total Time:
At least 6 hours (chill time)
Nutrition Information:
(Note: Nutritional information is an estimate and may vary based on specific ingredients and serving size.)
- Calories: Approximately 450-550 per serving
- Protein: Approximately 5-7 grams per serving
- Sodium: Approximately 200-300mg per serving
Conclusion
This No-Bake Funfetti Oreo Icebox Cake is a delightful dessert that’s both easy to make and incredibly satisfying. The combination of creamy whipped cream, crunchy Oreo cookies, and festive sprinkles makes it a perfect treat for any occasion. Whether you’re looking for a quick dessert to whip up on a hot day or a fun and colorful addition to your next party, this icebox cake is sure to be a hit! Enjoy the simplicity and deliciousness of this no-bake masterpiece!
Questions and Answers:
Q1: Can I use different types of cookies?
A: Absolutely! While this recipe calls for Oreo cookies, you can easily substitute them with other types of cookies like chocolate chip cookies, graham crackers, or even gluten-free cookies. Just keep in mind that the texture and flavor will change accordingly.
Q2: Can I add fruit to this recipe?
A: Yes, you can! Fresh berries like strawberries, blueberries, or raspberries would be a great addition. You can layer them between the cookies and whipped cream or use them as a garnish on top.
Q3: How do I prevent the cookies from getting too soggy?
A: To prevent the cookies from becoming overly soggy, make sure to chill the icebox cake for the recommended time (at least 6 hours). This allows the cookies to soften without becoming mushy. You can also brush the bottom layer of cookies with a thin layer of melted chocolate for an added barrier.
Q4: Can I make this recipe ahead of time?
A: Yes, this is a great make-ahead dessert! In fact, it’s often better when made a day in advance, as it gives the cookies more time to soften. Just be sure to store it in the refrigerator until you’re ready to serve it.
Q5: Can I reduce the amount of sugar in this recipe?
A: Yes, you can reduce the amount of powdered sugar in the whipped cream to your liking. Start with a smaller amount (e.g., 3/4 cup) and adjust to taste. You can also use a sugar substitute if you prefer. Keep in mind that reducing the sugar may affect the stability of the whipped cream, so it might not hold its shape as well.