Description
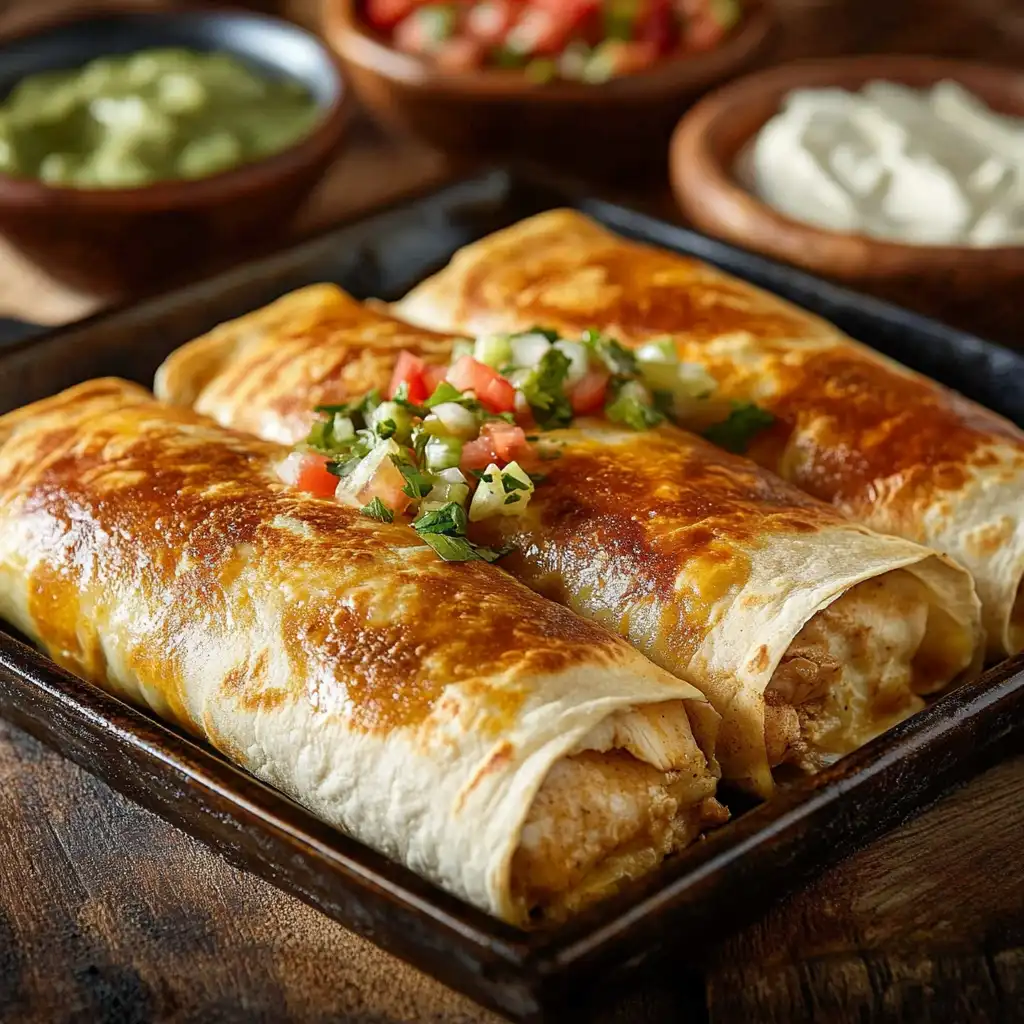
These baked chicken chimichangas are a delicious and easy-to-make meal that’s perfect for a weeknight dinner. They’re packed with flavor and can be customized with your favorite toppings. This recipe uses a blend of cheeses, flavorful spices, and a generous helping of salsa for a truly satisfying experience. Baking instead of frying keeps them lighter without sacrificing the satisfying crunch.
Ingredients:
- 2 cups cooked chicken, shredded
- 1 cup salsa
- 1 cup shredded cheddar cheese
- 1 cup shredded Monterey Jack cheese
- 1 can (4 oz) diced green chilies, drained
- 1 teaspoon ground cumin
- 1 teaspoon chili powder
- 1/2 teaspoon garlic powder
- 1/2 teaspoon onion powder
- 1/4 teaspoon salt
- 8 large flour tortillas (10-12 inch)
- 2 tablespoons butter, melted
- Optional toppings: sour cream, guacamole, additional salsa, chopped cilantro
Preparation:
Step 1: Preheat oven to 400°F (200°C). Lightly grease a baking sheet.
Step 2: In a large mixing bowl, combine the shredded chicken, salsa, cheddar cheese, Monterey Jack cheese, diced green chilies, ground cumin, chili powder, garlic powder, onion powder, and salt. Mix well until all ingredients are evenly distributed. Make sure there are no large clumps of cheese.
Step 3: Place a generous scoop (about 1/2 cup) of the chicken mixture in the center of each flour tortilla. Avoid overfilling the tortillas to prevent them from bursting during baking.
Step 4: Fold the sides of the tortilla over the filling, then roll it up tightly from the bottom to create a sealed burrito shape. This prevents the filling from spilling out.
Step 5: Place the chimichangas seam-side down on the prepared baking sheet. This helps the seam stay closed during baking.
Step 6: Brush the tops of the chimichangas with melted butter. This will help them brown and crisp up in the oven.
Step 7: Bake in the preheated oven for 20-25 minutes, or until the tortillas are golden brown and crispy. Rotate the baking sheet halfway through baking to ensure even browning.
Step 8: Remove from oven and let cool for a few minutes before serving. This prevents burning your mouth on the hot filling.
Why You’ll Love This Recipe
This recipe is a winner because it’s quick, easy, and incredibly versatile. It requires minimal prep time and uses ingredients you likely already have in your pantry. The baked method makes it a healthier alternative to traditional fried chimichangas, and the flavor combination is irresistible. Plus, everyone can customize their toppings to their liking!
Serving Suggestions:
- Serve hot, straight from the oven.
- Top with sour cream, guacamole, your favorite salsa, and chopped cilantro.
- Pair with a side of Mexican rice and refried beans for a complete meal.
- Offer a variety of hot sauces for those who like a little extra heat.
- A simple side salad with a lime vinaigrette would also complement the richness of the chimichangas.
Tips:
- Don’t overfill the tortillas, or they may burst.
- Use good-quality tortillas for the best results.
- If you don’t have Monterey Jack cheese, you can substitute with another melty cheese like Colby Jack or pepper jack.
- For a spicier chimichanga, add a pinch of cayenne pepper to the chicken mixture or use a hotter salsa.
- Leftovers can be stored in the refrigerator for up to 3 days. Reheat in the oven or microwave.
- You can assemble the chimichangas ahead of time and store them in the refrigerator until ready to bake. Just add a few extra minutes to the baking time.
Preparation Time: 20 minutes
Cook Time: 20-25 minutes
Total Time: 40-45 minutes
Nutrition Information (per chimichanga, approximate):
- Calories: 450-550 (depending on toppings)
- Protein: 30-35g
- Sodium: 700-900mg (depending on salsa)
Conclusion
These baked chicken chimichangas are a crowd-pleaser that’s sure to become a family favorite. With their crispy tortillas, flavorful filling, and customizable toppings, they’re the perfect meal for any occasion. Enjoy!
Questions and Answers:
- Can I use rotisserie chicken for this recipe?
- Yes, absolutely! Rotisserie chicken is a great shortcut and adds a lot of flavor. Simply shred the chicken and use it in the recipe.
- Can I make these ahead of time?
- Yes, you can assemble the chimichangas ahead of time and store them in the refrigerator for up to 24 hours before baking. Just add a few extra minutes to the baking time.
- What if I don’t have all the spices?
- You can adjust the spices to your liking. If you don’t have garlic powder or onion powder, you can use a pinch of granulated garlic or onion. If you don’t have chili powder, you can use a blend of paprika, cumin, and oregano.
- Can I freeze these chimichangas?
- Yes, you can freeze them before baking. Wrap each chimichanga tightly in plastic wrap and then place them in a freezer bag. They can be frozen for up to 2 months. When ready to bake, thaw them in the refrigerator overnight and then bake as directed.
- Can I use corn tortillas instead of flour tortillas?
- While you can use corn tortillas, they are more prone to cracking and breaking, especially when filled and rolled. Flour tortillas are more pliable and hold up better during baking. If you do use corn tortillas, warm them slightly before filling to make them more flexible.